
Once per day

3 times per week & at least 48 hours apart


1

Inspect the syringe. Discard if particles/discoloration is present
2
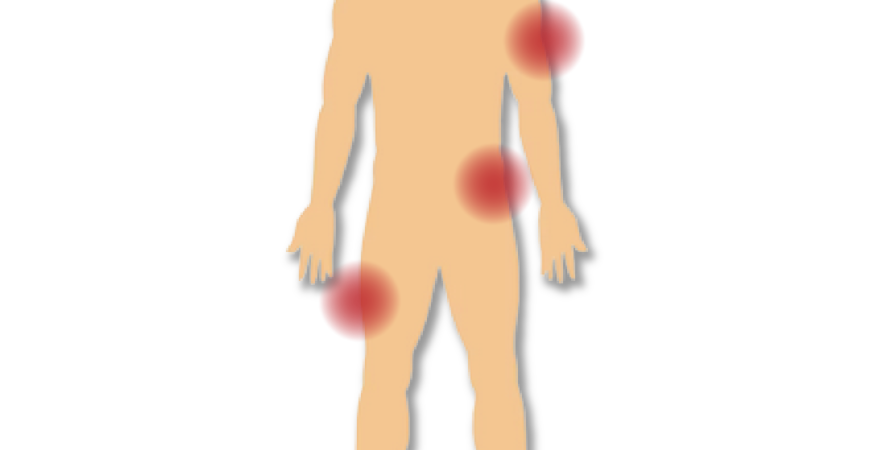
Select area for injection (arms, hips, thighs, and abdomen)
3

Adjust the screw depth
4

Push the cap remover until you hear a click
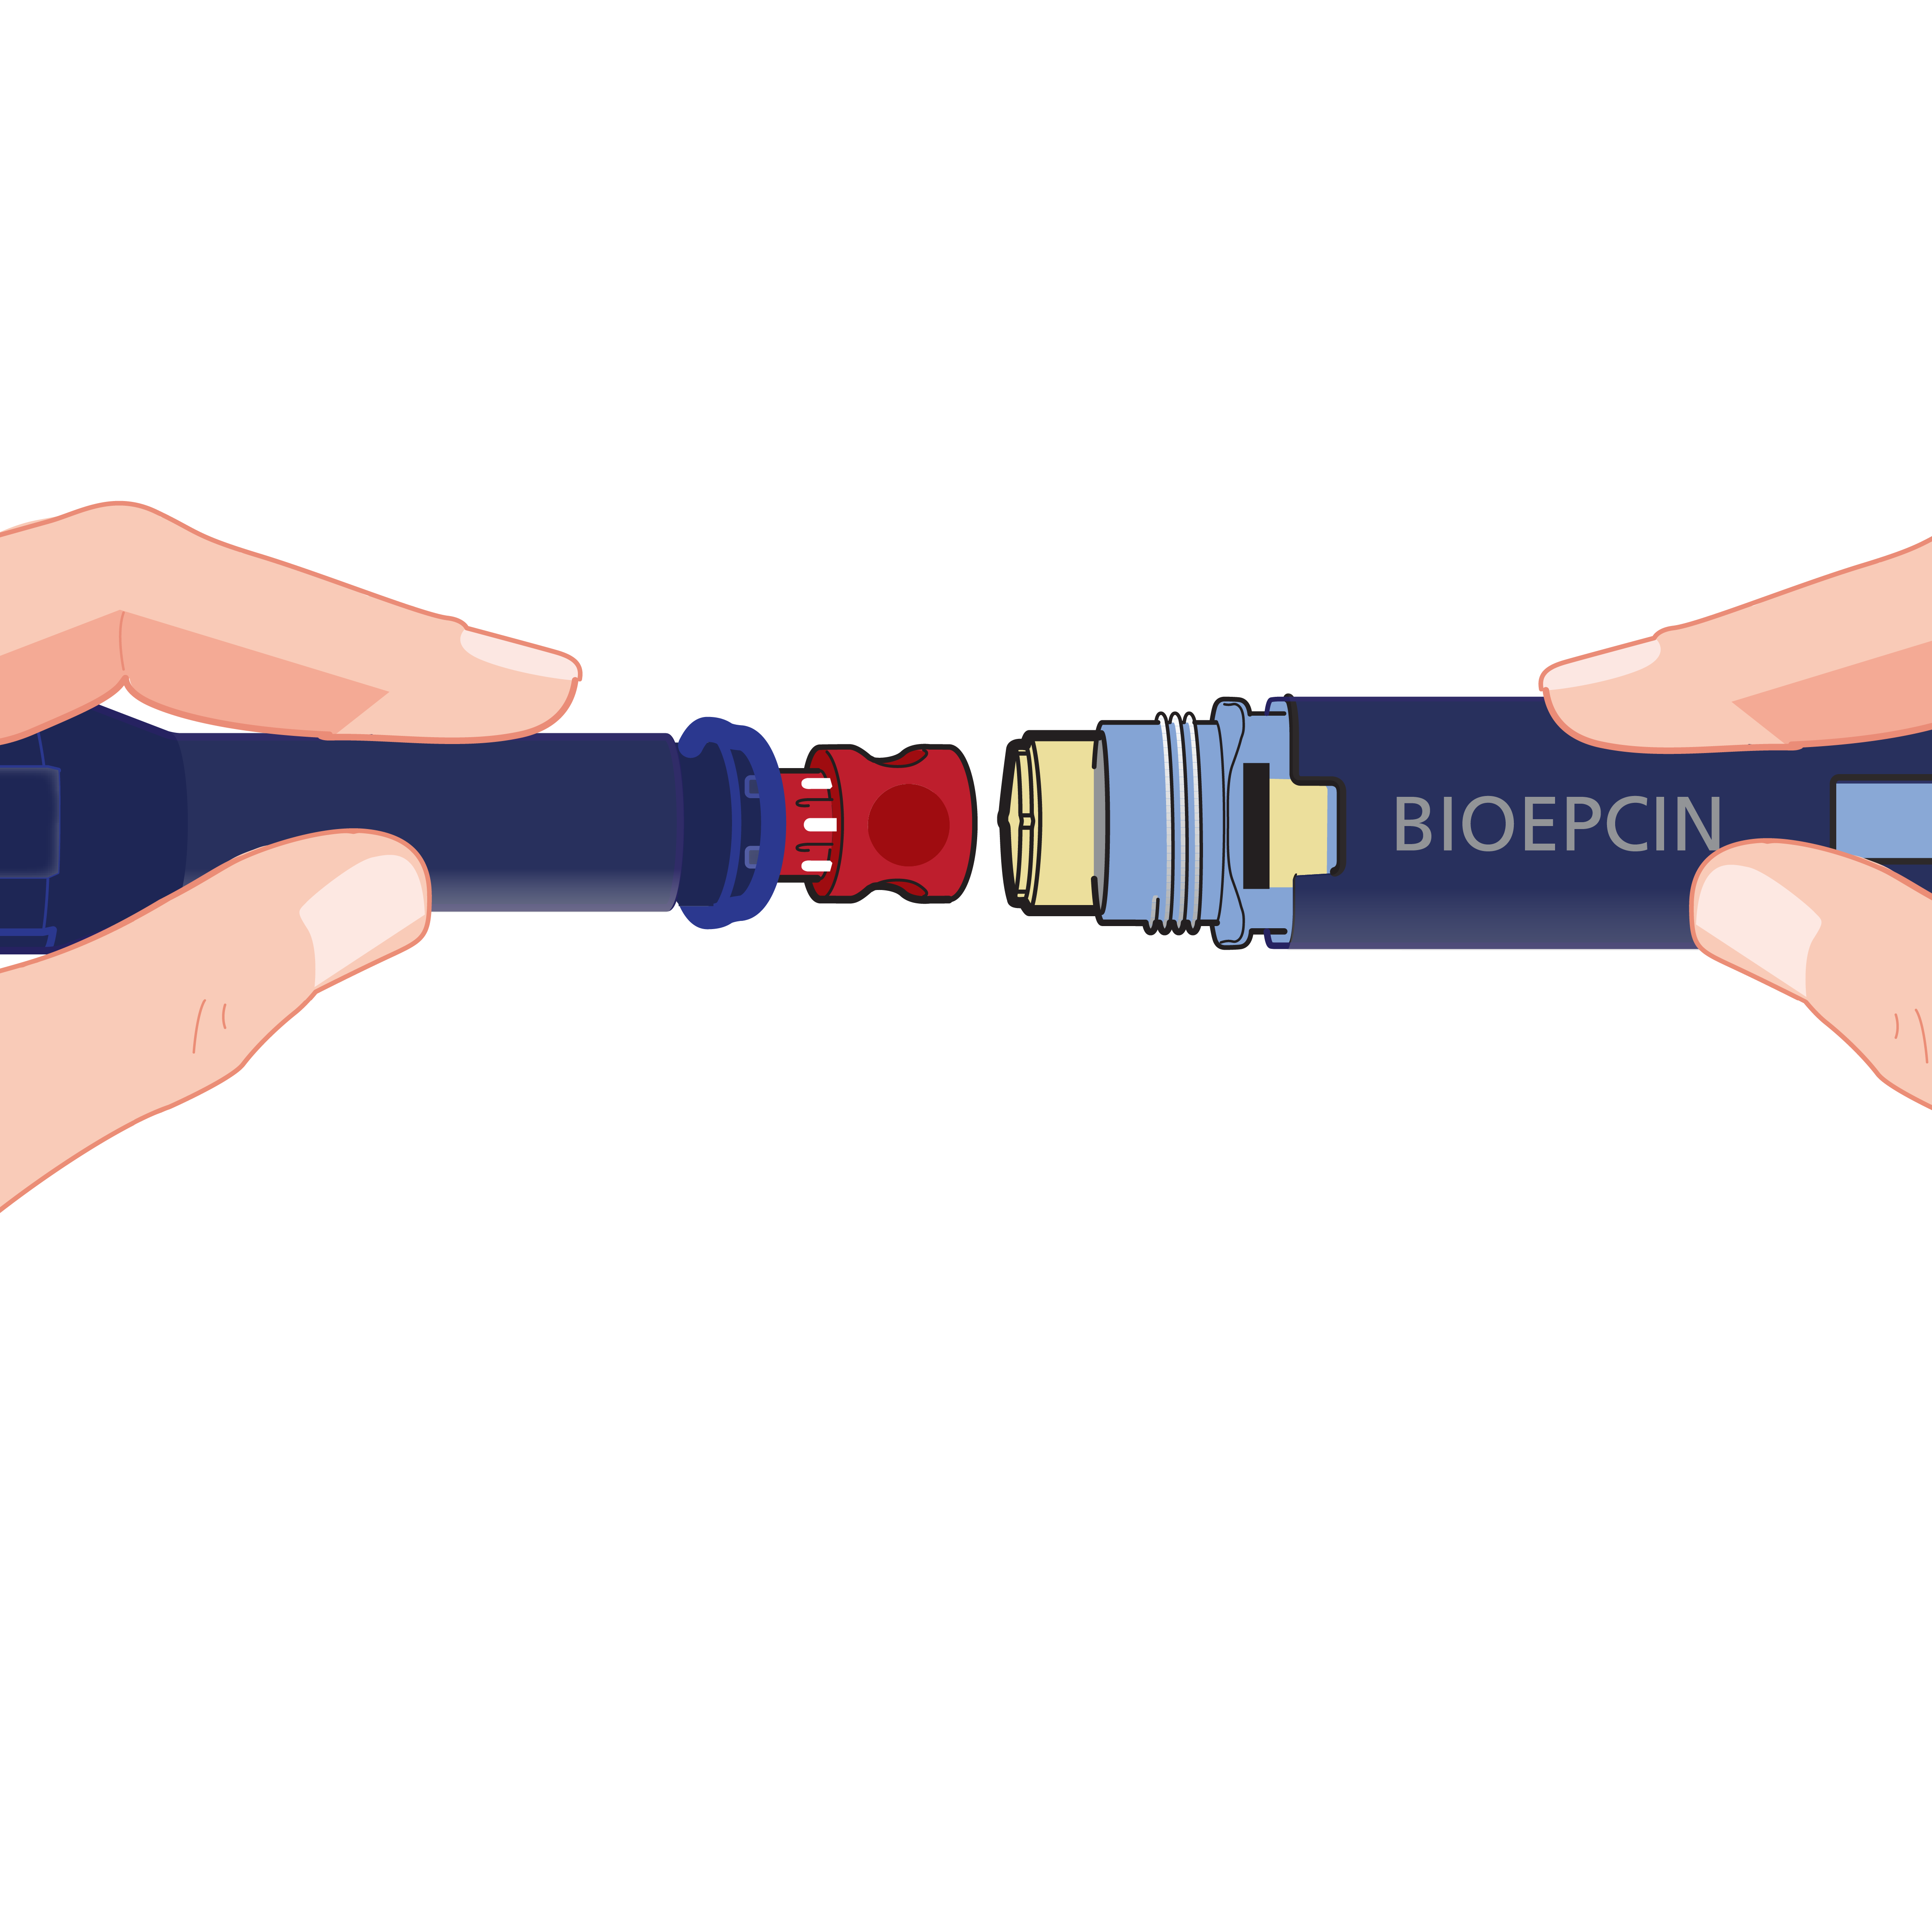
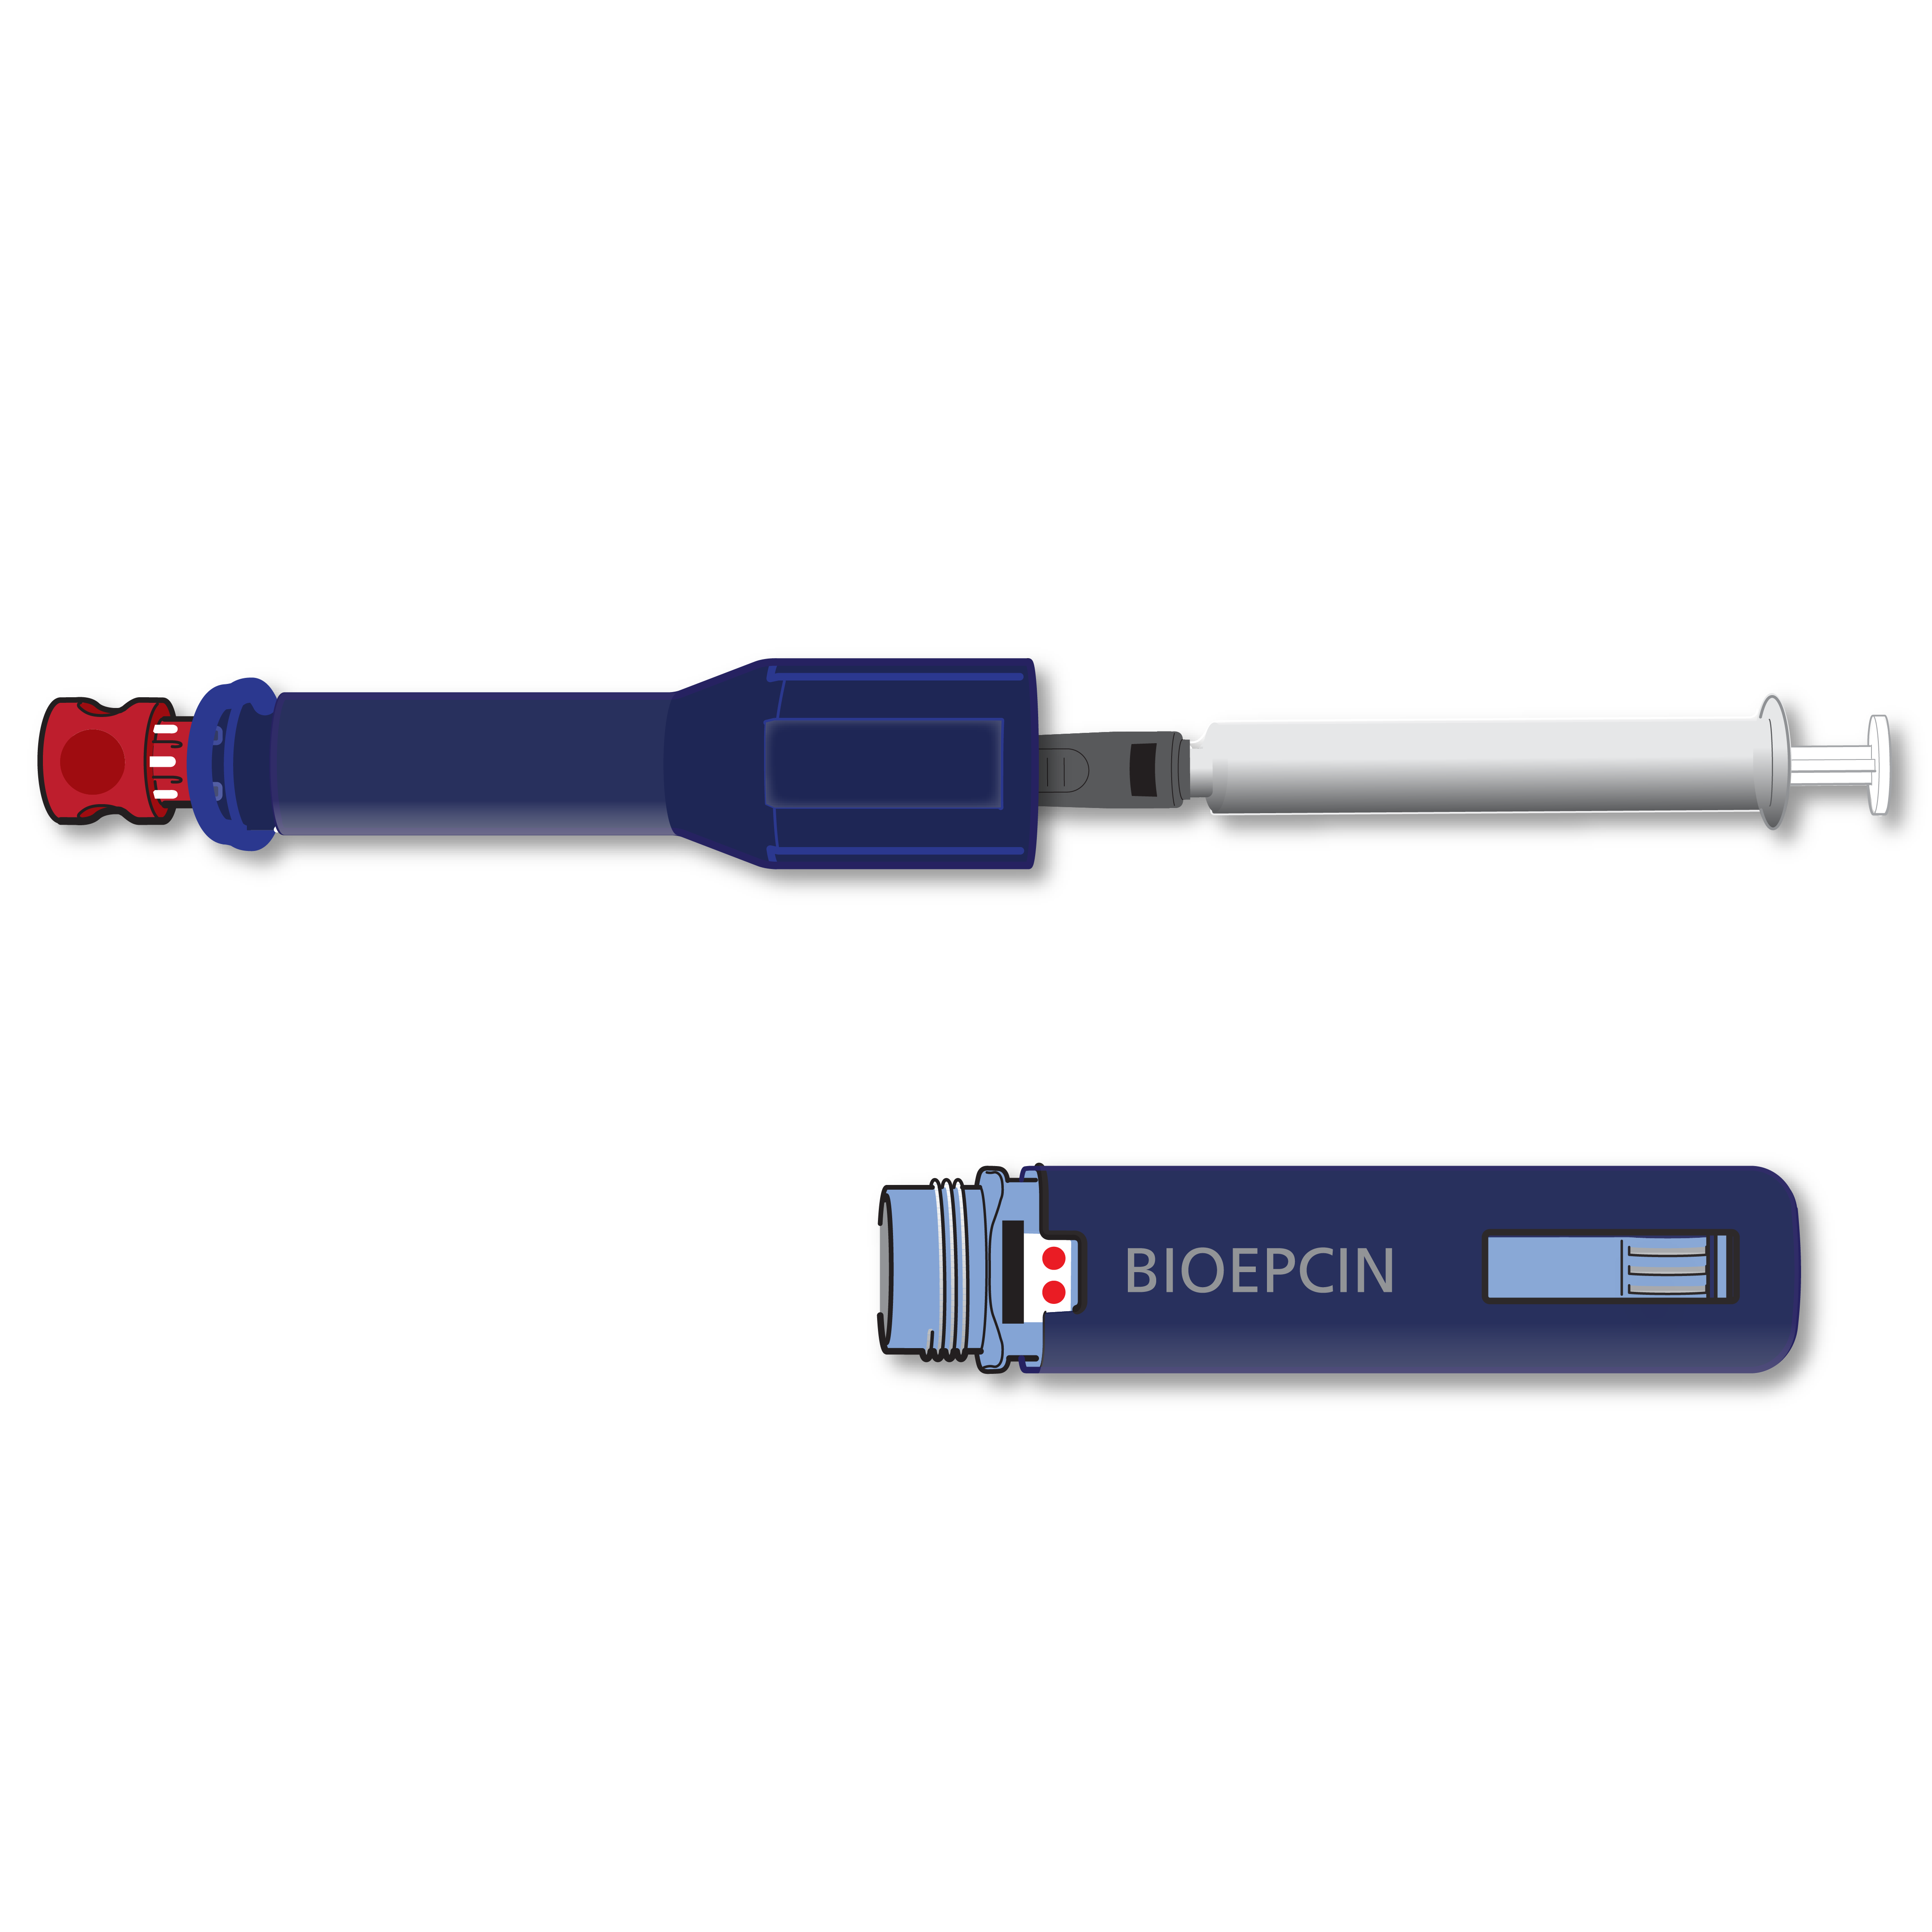
5

Insert the syringe into the syringe housing
6

Clean the injection site with alcohol wipe
7

Hold device against skin. Press blue Firing Button
8

Hold cotton ball over injection site